

How to Plan Bathroom Flooring That Lasts
A bathroom floor has to do more than look good beside a new vanity or shower tile. It needs to stand up to wet feet, daily traffic, shifting humidity, and the occasional plumbing issue without losing its shape or appeal. Knowing how to plan bathroom flooring before materials are ordered helps protect your investment and gives the finished room the polished, comfortable feel homeowners want.
The right choice is rarely about selecting a color from a sample board alone. A successful bathroom flooring plan considers the condition of the subfloor, where water is most likely to collect, how the room is used, and how the flooring connects to the rest of the home. Those details are where long-lasting results begin.
Start With the Bathroom You Actually Have
Bathrooms vary widely in the demands they place on flooring. A first-floor powder room used mainly by guests has different needs than a busy family bathroom where children bathe, towels land on the floor, and morning routines overlap. A primary bathroom may call for a more refined, spa-like finish, but it still needs practical protection around showers, tubs, and toilet areas.
Begin by looking at traffic and moisture together. Consider who uses the bathroom, whether there is a tub or walk-in shower, how much ventilation the room receives, and whether pets or young children add to the daily wear. This assessment keeps the project grounded in real life rather than a showroom image.
The existing floor also deserves a close look. Soft spots, uneven areas, loose tile, stained wood, or signs of prior water damage can point to a subfloor issue that must be corrected before new flooring goes in. Even premium material cannot perform properly over a weak or uneven base. Professional preparation creates the stable foundation that allows a new floor to stay attractive and secure.
How to Plan Bathroom Flooring Around Moisture
Water is the defining factor in bathroom flooring. That does not mean every bathroom needs the same product, but it does mean moisture resistance should guide every decision, from the surface material to the installation method and edge details.
Think through the room in zones. The floor directly outside a shower or tub faces repeated splashing. The area around the toilet is vulnerable to small leaks that may go unnoticed. Flooring near a vanity can see drips, wet hands, and spilled products. A well-planned floor is selected and installed to handle these everyday conditions, not just the rare major spill.
Luxury vinyl plank and luxury vinyl tile are popular choices for many Pennsylvania bathrooms because they offer strong water resistance, comfortable footing, and a broad range of wood- and stone-inspired designs. Quality vinyl flooring can bring warmth to a bathroom without introducing the maintenance concerns of natural hardwood in a wet setting. It is also a practical option when homeowners want visual continuity between a bathroom and adjoining bedroom or hallway.
Tile remains a proven bathroom choice, especially for homeowners who prefer a classic stone, porcelain, or ceramic appearance. It is highly water-resistant when properly installed and grouted, though it can feel colder and harder underfoot than vinyl. Tile also requires careful subfloor preparation and precise installation to reduce the risk of cracking or grout problems over time.
Laminate may work in certain low-moisture powder rooms, but it requires more caution in full bathrooms. Not all laminate products are designed for frequent water exposure, and moisture that reaches the seams or core can cause swelling. If laminate is under consideration, the product specifications and the room's moisture level should be reviewed carefully before moving forward.
Hardwood can create a beautiful, timeless look, but it is typically better suited to nearby bedrooms or hallways than to full bathrooms with regular shower use. Humidity and standing water create risks that deserve an honest discussion. In some homes, a wood-look luxury vinyl floor provides the warmth and design continuity homeowners want with better day-to-day moisture performance.
Build the Design From the Ground Up
Bathroom flooring should support the entire room rather than compete with it. Start with the fixed elements that are hardest to change: shower tile, countertop, cabinetry, wall color, and major fixtures. Then choose a floor color and pattern that gives those features room to stand out.
In smaller bathrooms, lighter flooring can make the room feel more open, while subtle variation helps conceal everyday dust and water marks. A mid-tone wood look often brings warmth to white or gray bathrooms. Stone-look vinyl or tile can give a more tailored appearance, especially when paired with clean-lined vanities and brushed metal fixtures.
Scale matters as much as color. Large-format tile can reduce grout lines and create a more expansive look, but it may require careful planning around cuts in a compact room. Wider luxury vinyl planks can make a bathroom feel more connected to adjoining spaces, particularly when the planks run in the same direction as the hallway or bedroom floor.
Do not overlook transitions. If the bathroom floor meets hardwood, carpet, tile, or vinyl outside the doorway, the change in height and appearance should be planned early. A clean transition improves both safety and visual flow. This is especially valuable in older homes, where floor heights and subfloor conditions can vary from one room to the next.
Measure Beyond the Open Floor Area
Bathroom measurements can be deceptive. The room may be small, but flooring often needs detailed cuts around a toilet flange, vanity, tub apron, shower curb, heating vent, doorway, and baseboards. Accurate measuring should account for all of these features as well as material waste from pattern matching, plank direction, and cuts.
It is also worth deciding whether the vanity will sit on top of the new flooring or be installed after the floor is complete. Flooring under a freestanding vanity can create a more finished look and make future updates easier. In other cases, working around an existing built-in vanity may be the right approach for the budget and project scope. The best answer depends on the layout, the condition of the cabinetry, and whether other bathroom remodeling work is planned.
Door clearance is another detail that can become a problem late in the project. New flooring, underlayment, and transition pieces may change the finished height enough to require adjustments to a door. Addressing this before installation keeps the project moving cleanly.
Set a Budget That Protects the Installation
A bathroom flooring budget should include more than the visible material. Removal of existing flooring, subfloor repair, floor leveling, moisture preparation, trim, transitions, and installation all influence the final cost. Leaving room for these essentials is often wiser than spending every available dollar on a premium surface and cutting corners beneath it.
The lowest-priced product is not always the most affordable long-term choice. A floor that resists water, cleans easily, and is installed with precision can prevent costly replacement work later. For homeowners planning to stay in their home, durability and comfort usually deserve priority. For a property refresh or resale project, a clean, neutral, well-installed floor can add meaningful appeal without overcomplicating the design.
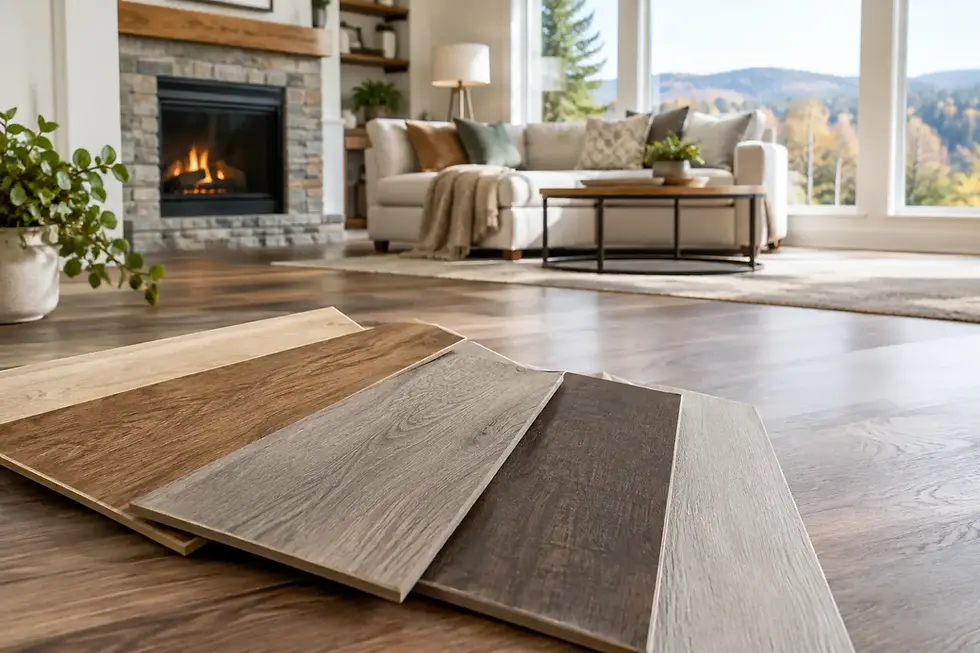
A professional consultation also makes material selection more practical. Viewing samples in your own bathroom lets you see how colors respond to natural light, overhead fixtures, wall paint, and existing finishes. Piruzza Flooring LLC's mobile showroom approach helps homeowners compare options where the floor will actually live, not under showroom lighting alone.
Plan the Installation Sequence
Bathroom flooring is often part of a larger update, and timing affects the finished result. If a shower, vanity, toilet, or baseboards are being replaced, coordinate those steps before installation begins. Flooring is generally installed after major demolition and wet construction are complete, but the exact sequence depends on the material and fixture plan.
Professional installation matters most at the edges and details that are easy to overlook. Proper expansion spacing, secure transitions, carefully finished cuts, and appropriate protection around moisture-prone areas all contribute to a floor that performs as intended. Clean workmanship also preserves the design choices that made you choose the material in the first place.
Before the crew arrives, clear personal items, confirm which fixtures will remain in place, and make sure decisions about trim, transitions, and plank direction have been finalized. That preparation gives the project a clear path from material selection to a finished bathroom built for everyday use.
A thoughtfully planned bathroom floor should feel dependable every morning, not delicate or demanding. Choose the surface that fits your home's style, prepare the foundation correctly, and give moisture protection the attention it deserves. The result is more than a new floor - it is a bathroom that feels finished, comfortable, and ready for years of real living.


Comments